Editing photos in Adobe Lightroom can be a meticulous process, and understanding the software’s masking features is essential to avoid unintentional mistakes. A recent video tutorial by Alex Cooke highlights effective shortcuts and techniques that streamline the masking process, enabling users to create cleaner and more intentional edits.
Key Masking Techniques Explained
The video begins by focusing on the basics of accessing the Masking panel. Users can easily open it by clicking the icon or using the Shift + W shortcut. This foundational knowledge is crucial, as many users often experience confusion when adjusting sliders. Cooke emphasizes that changes made with the Masking controls only affect the selected area, whereas the global sliders impact the entire image. This distinction is vital for maintaining control over edits, particularly when working quickly.
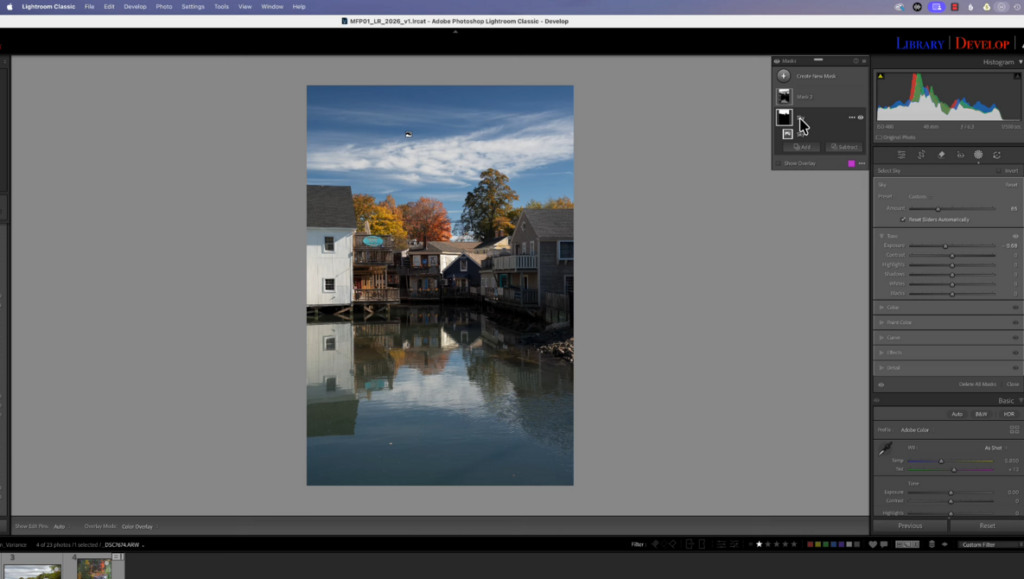
Using a sky mask as a starting example, the tutorial encourages users to familiarize themselves with the panel tools. Cooke demonstrates how to move the floating mask controls around the workspace, preventing them from obstructing other adjustments. Once the first mask is established, he introduces the overlay feature, a practical tool that enhances workflow efficiency.
Cooke shows how to toggle the overlay on and off using the O key, allowing for quick checks of edges without navigating through multiple menus. The “amount” slider, which adjusts all modifications within the mask simultaneously, is another highlight. This feature simplifies the process of fine-tuning edits, enabling users to reduce the intensity of a mask without needing to readjust each individual slider.
Advanced Mask Management Strategies
Further into the tutorial, Cooke covers advanced mask management techniques. He explains how to add additional masks using the plus button and the importance of renaming them for future reference. Users can avoid confusion by not being left with generic labels like “Mask 1” and “Mask 2.”
The tutorial also clarifies the distinction between inverting a mask and duplicating and inverting it, a crucial aspect when adjustments to both the sky and foreground are necessary. Cooke showcases the functionality of eyeball icons, which allow users to preview all masks temporarily or toggle individual masks off before exporting.
For those looking to delve deeper into masking capabilities, Cooke introduces tools like intersecting masks and building submasks with Add and Subtract options. These features provide greater control and flexibility in editing, making complex adjustments more manageable.
This comprehensive tutorial not only equips users with practical shortcuts but also enhances their understanding of Lightroom’s masking tools. For more in-depth guidance, viewers can refer to the full video presented by Cooke, who, in addition to his photography skills, has a background in meteorology and a passion for teaching.
With these insights, both novice and experienced Lightroom users can refine their editing techniques, leading to more polished and professional results.